
We will always recommend using an SSH Key for password-less access to remote servers, especially when authenticating to the server via the root account. All of our servers have root password access disable by default, so using an SSH key is the only option. To help those that do not already have one setup, here is a simple walk through on generating a new SSH Key and setting it up on the root account.
From a Linux Server or Workstation
From a command line, enter one of the commands below based on the type of key you are wanting.
RSA ~ 4,096 bit SSH Key
# ssh-keygen -t rsa -b 4096 -f ~/id_rsa -N '' -C ''
ECDSA ~ 256 bit SSH Key
# ssh-keygen -t ecdsa -f ~/id_ecdsa -N '' -C ''
ED25519 ~ 256 bit SSH Key
# ssh-keygen -t ed25519 -f ~/id_ed25519 -N '' -C ''
Two files were created from the above commands. One of the files will not have an extension, this is YOUR private key. Do not loose this key and do not share this key with anyone else. The second file, ending in .pub will be the PUBLIC key that can be added to SSH servers. With the two key pairs, you will have password-less access to the account that you setup the PUBLIC key with.
Adding your public key to a remote SSH server (example : root account)
First, you need to setup the directory structure. Login to your server with your username and password, then sudo to the root account.
This can be done with the following commands:
sudo -i
<enter your sudo password and press enter>


mkdir -p ~/.ssh;
chmod 0700 ~/.ssh;
touch ~/.ssh/authorized_keys;
chmod 0600 ~/.ssh/authorized_keys;
What this just did, was create a directory under the root account named “.ssh”, then sets the permissions. It then created a file named “authorized_keys” and sets the permissions.
Now you need to copy the content of your PUBLIC key file (example file : id_rsa.pub) into the newly created file “authorized_keys” file. Here is a quick script that you can run.
Be sure to replace the “<enter-public-key-here>” value with the contents of your public key file.
MY_PUBLIC_KEY="<enter-public-key-here>"
echo "${MY_PUBLIC_KEY}" >> ~/.ssh/authorized_keys
You can now access this server using the SSH private / public key pair.
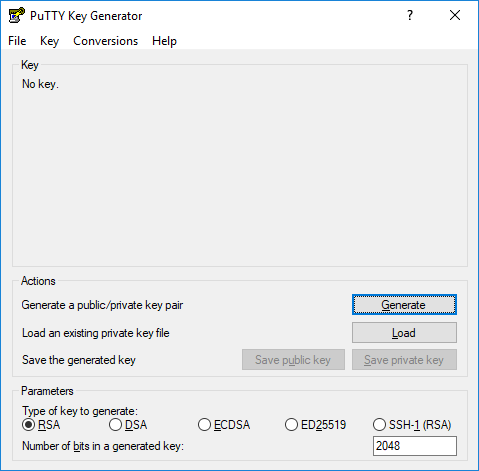
From a Windows System with PuTTY Installed
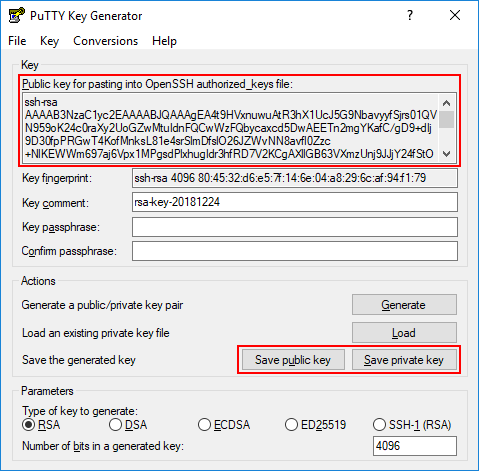
First, you need to run the tool “PuTTYgen”. Once executed, it will open the PuTTY Key Generator application on Windows.
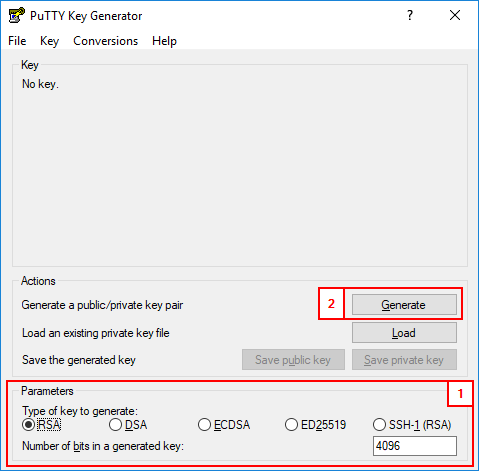
Next, you will need to select the type of key that you want to generate, as well as the key length. With RSA and ECDSA keys, the higher the key length, the more secure it is. However, the higher the key length is, also the longer it takes to decrypt/encrypt as well as higher CPU load. Once you have your settings selected,
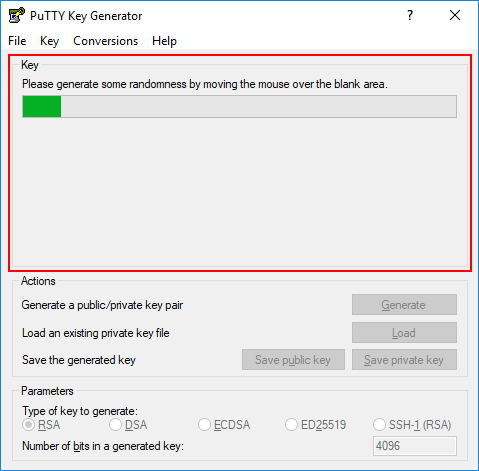
press the [ Generate ] button.
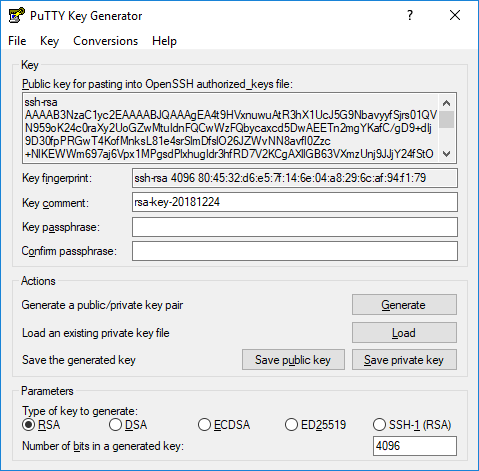
Once the new key is generated, you will need to save the PRIVATE and PUBLIC key files.
You should also save the content of the “OpenSSH” public key data to a text file for future use on a Linux server.
.